The Story
Specialties: Radiology, UK - FRCR,
Publisher: Cambridge,
Publication Year: 2011,
Cover: Paperback,
Dimensions: 154.94x261.62x30.48mm
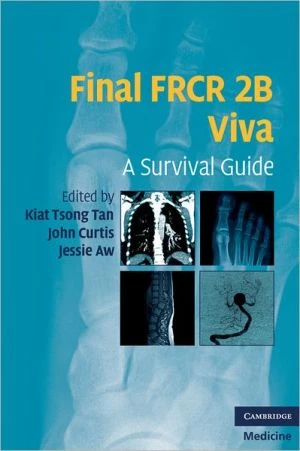
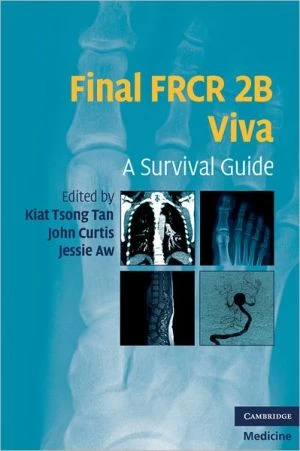
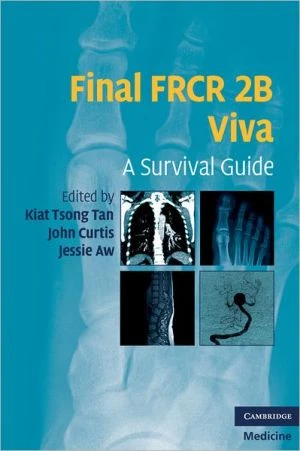
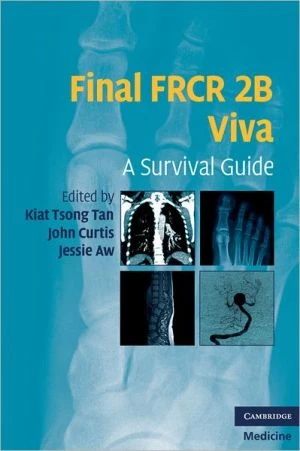
Final FRCR 2B Viva: A Survival Guide presents a series of cases similar to those used in the FRCR exams and representative of everyday radiological practice. This invaluable collection of high quality images is accompanied by clear and concise explanations, enabling trainees to prepare fully for their FRCR 2B viva presentation. Covering the full range of imaging modalities and organ systems, it provides clinically important vignettes which help the reader to impress examiners and colleagues, and enhance the trainee's ability to come up with differential diagnoses. Concise key points for each case provide additional diagnostic information which would impress an examiner. Written by a team of expert consultant radiologists and several recently successful FRCR Part 2 candidates, Final FRCR 2B Viva: A Survival Guide is an essential purchase for all radiology trainees.show more
Details & Craftsmanship
Every detail has been carefully considered to bring you the perfect product.

Details & Craftsmanship
Every detail has been carefully considered to bring you the perfect product.

Details & Craftsmanship
Every detail has been carefully considered to bring you the perfect product.

Details & Craftsmanship
Every detail has been carefully considered to bring you the perfect product.

Details & Craftsmanship
Every detail has been carefully considered to bring you the perfect product.

Details & Craftsmanship
Every detail has been carefully considered to bring you the perfect product.

Details & Craftsmanship
Every detail has been carefully considered to bring you the perfect product.

Details & Craftsmanship
Every detail has been carefully considered to bring you the perfect product.

Details & Craftsmanship
Every detail has been carefully considered to bring you the perfect product.

Details & Craftsmanship
Every detail has been carefully considered to bring you the perfect product.

Details & Craftsmanship
Every detail has been carefully considered to bring you the perfect product.

Details & Craftsmanship
Every detail has been carefully considered to bring you the perfect product.

Details & Craftsmanship
Every detail has been carefully considered to bring you the perfect product.

Details & Craftsmanship
Every detail has been carefully considered to bring you the perfect product.

Details & Craftsmanship
Every detail has been carefully considered to bring you the perfect product.
Details & Craftsmanship
Every detail has been carefully considered to bring you the perfect product.
Details & Craftsmanship
Every detail has been carefully considered to bring you the perfect product.

Details & Craftsmanship
Every detail has been carefully considered to bring you the perfect product.

Details & Craftsmanship
Every detail has been carefully considered to bring you the perfect product.

Details & Craftsmanship
Every detail has been carefully considered to bring you the perfect product.

Details & Craftsmanship
Every detail has been carefully considered to bring you the perfect product.
Details & Craftsmanship
Every detail has been carefully considered to bring you the perfect product.

Details & Craftsmanship
Every detail has been carefully considered to bring you the perfect product.

Details & Craftsmanship
Every detail has been carefully considered to bring you the perfect product.

Details & Craftsmanship
Every detail has been carefully considered to bring you the perfect product.

Details & Craftsmanship
Every detail has been carefully considered to bring you the perfect product.

Details & Craftsmanship
Every detail has been carefully considered to bring you the perfect product.

Details & Craftsmanship
Every detail has been carefully considered to bring you the perfect product.

Details & Craftsmanship
Every detail has been carefully considered to bring you the perfect product.

Details & Craftsmanship
Every detail has been carefully considered to bring you the perfect product.

Details & Craftsmanship
Every detail has been carefully considered to bring you the perfect product.

Details & Craftsmanship
Every detail has been carefully considered to bring you the perfect product.

Details & Craftsmanship
Every detail has been carefully considered to bring you the perfect product.

Details & Craftsmanship
Every detail has been carefully considered to bring you the perfect product.

Details & Craftsmanship
Every detail has been carefully considered to bring you the perfect product.

Details & Craftsmanship
Every detail has been carefully considered to bring you the perfect product.

Details & Craftsmanship
Every detail has been carefully considered to bring you the perfect product.
Details & Craftsmanship
Every detail has been carefully considered to bring you the perfect product.

Details & Craftsmanship
Every detail has been carefully considered to bring you the perfect product.

Details & Craftsmanship
Every detail has been carefully considered to bring you the perfect product.

Details & Craftsmanship
Every detail has been carefully considered to bring you the perfect product.

Details & Craftsmanship
Every detail has been carefully considered to bring you the perfect product.

Details & Craftsmanship
Every detail has been carefully considered to bring you the perfect product.
Details & Craftsmanship
Every detail has been carefully considered to bring you the perfect product.
Description
Specialties: Radiology, UK - FRCR,
Publisher: Cambridge,
Publication Year: 2011,
Cover: Paperback,
Dimensions: 154.94x261.62x30.48mm
Final FRCR 2B Viva: A Survival Guide presents a series of cases similar to those used in the FRCR exams and representative of everyday radiological practice. This invaluable collection of high quality images is accompanied by clear and concise explanations, enabling trainees to prepare fully for their FRCR 2B viva presentation. Covering the full range of imaging modalities and organ systems, it provides clinically important vignettes which help the reader to impress examiners and colleagues, and enhance the trainee's ability to come up with differential diagnoses. Concise key points for each case provide additional diagnostic information which would impress an examiner. Written by a team of expert consultant radiologists and several recently successful FRCR Part 2 candidates, Final FRCR 2B Viva: A Survival Guide is an essential purchase for all radiology trainees.show more